Five Minute Photo Shoot: Panko-Fried Eggs and Soldiers

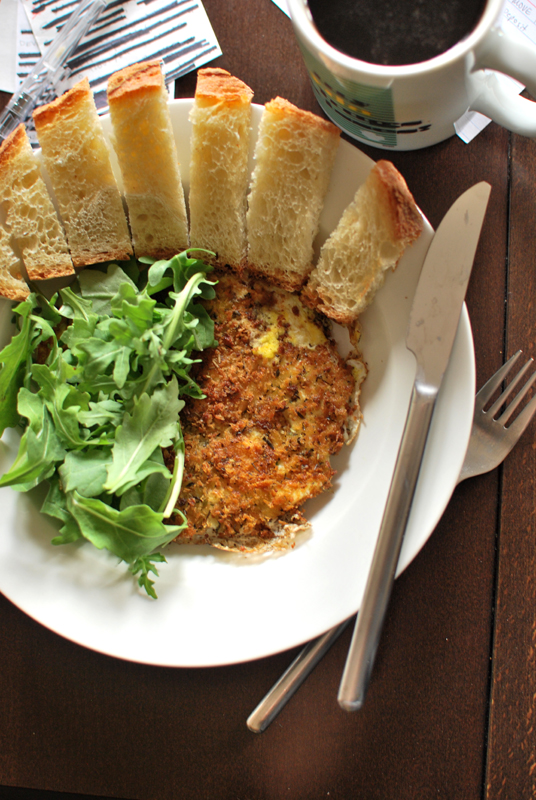
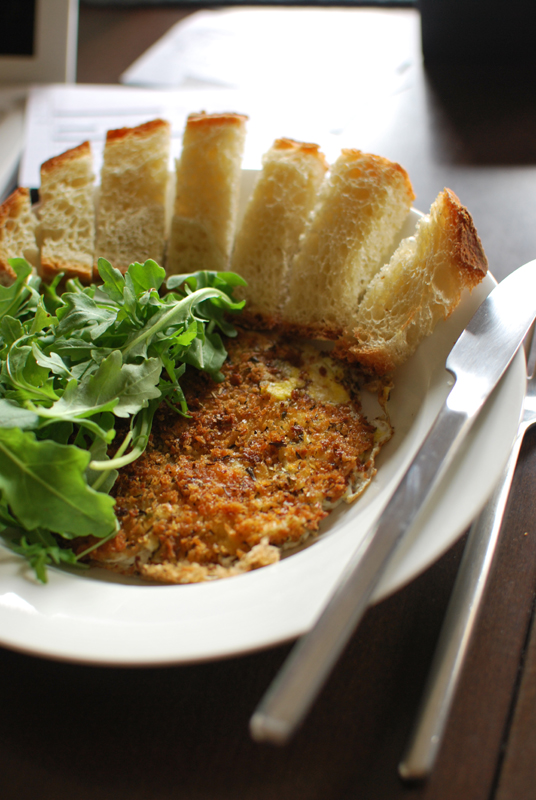
A little post-election night breakfast while getting to work: fried eggs, arugula, and soldiers for dipping.

I’ve taken to frying eggs over some toasted panko, an idea picked up from the Zuni Café cookbook.  Your eggs get all crunchy and amazing.  Couldn’t be easier, either: pan over medium-high heat, olive oil, panko, stir until just barely golden, a little more oil, crack eggs into pan on top of panko.  Salt and pepper.  Add some dried herbs if you want bonus points.  Over easy is best, so you can serve them panko-side up, and it’ll all stay crisp.

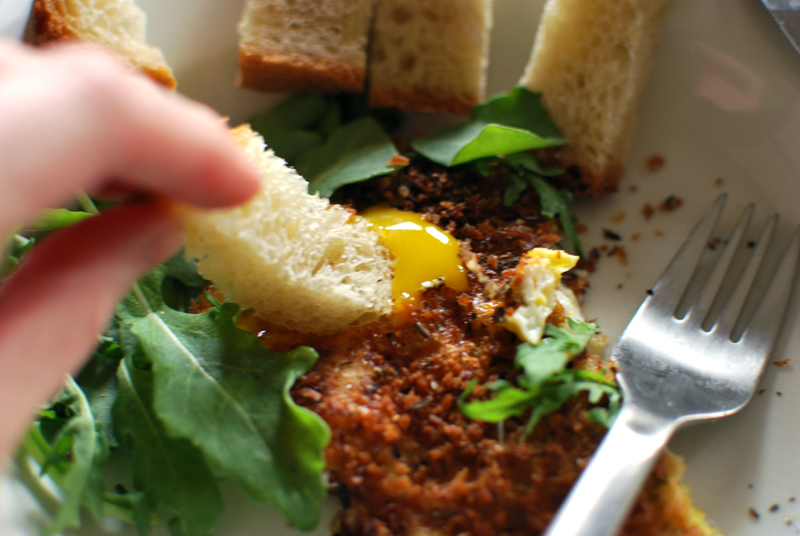
something’s missing…
there we go

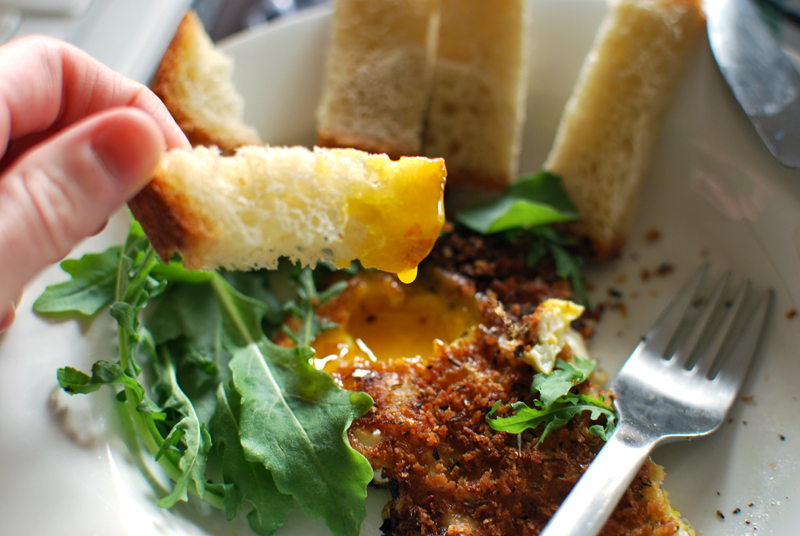
Runny egg yolks 4 life.

That right there is some luxury.

My Favorite Banana Bread

A banana bread muffin, split, toasted under a broiler, with fancy butter and a cup of tea.  This is a breakfast for a gray, rainy day, one that never manages to crawl above the mid-40’s in temperature.  Three months from now, these temperatures will feel positively quaint.

Ugh.

My Favorite Banana Bread

Yield: one 9 x 5 inch loaf

Adapted from Bon Appétit Magazine

This is my all-time favorite banana bread. It's not too sweet, it's not too rich, it's full of banana flavor and a little nuttiness from the whole wheat flour and flaxseed. It toasts gorgeously; and though it doesn't need it, a little pat of butter is a luxurious accompaniment. Some days require luxury.

If you'd like to make this into muffins, increase the oven temperature to 350º F and bake for about 30 minutes. I always seem to get 15 or 16 standard size muffins out of each batch.

Ingredients

  • 127 grams (1 cup) unbleached all-purpose flour, plus additional for dusting the pan
  • 85 grams (2/3 cup) whole wheat flour
  • 25 grams (1/4 cup) ground flaxseed
  • 2 teaspoons baking powder
  • 1/2 teaspoon baking soda
  • 1/2 teaspoon salt
  • 1/2 teaspoon ground cinnamon
  • 1/4 teaspoon ground allspice
  • 1/4 teaspoon ground cloves
  • 1/4 teaspoon ground ginger
  • 2 large eggs
  • 148 grams (3/4 cup) sugar
  • 1 cup smashed very ripe bananas (2 to 3)
  • 1/3 cup buttermilk
  • 1 tablespoon vegetable oil
  • 1 tablespoon vanilla extract

Instructions

1. Preheat the oven to 325° F. Lightly butter a 9 x 5 inch loaf pan, and sprinkle with flour. Shake the pan around to coat evenly with flour, then turn the pan upside down over the sink and knock on the bottom to remove any excess.

2. In a medium bowl, whisk together the flours, flaxseed, baking powder, baking soda, salt, and spices; set aside.

3. Using an electric mixer, whip the eggs and sugar together until fluffy and light, about 5 minutes. In a liquid measuring cup, smash the bananas until smooth (a fork works well here). Make sure there's at least 1 cup; if it measures more than that, don't worry one bit. Add buttermilk, oil, and vanilla, and stir until combined.

4. Add the banana mixture to the eggs and sugar. Mix until just blended. Remove the bowl from the mixer and add the dry ingredients. Stir together just until the flour is moistened and no large pockets remain; do not overmix. Transfer batter to the prepared pan, and lightly smooth the top.

5. Bake at 325° F until golden brown on top and a tester inserted into the center comes out clean, about 1 hour. Let cool briefly in the pan before removing to a rack to cool. Excellent served warm, or sliced and toasted.

https://onehundredeggs.com/my-favorite-banana-bread/

Savory and Sweet: Quinoa

This is the second of a three-part collaboration with Cybelle Codish and Taryn Bickley.  For the first part, click here.  For the third part, click here.

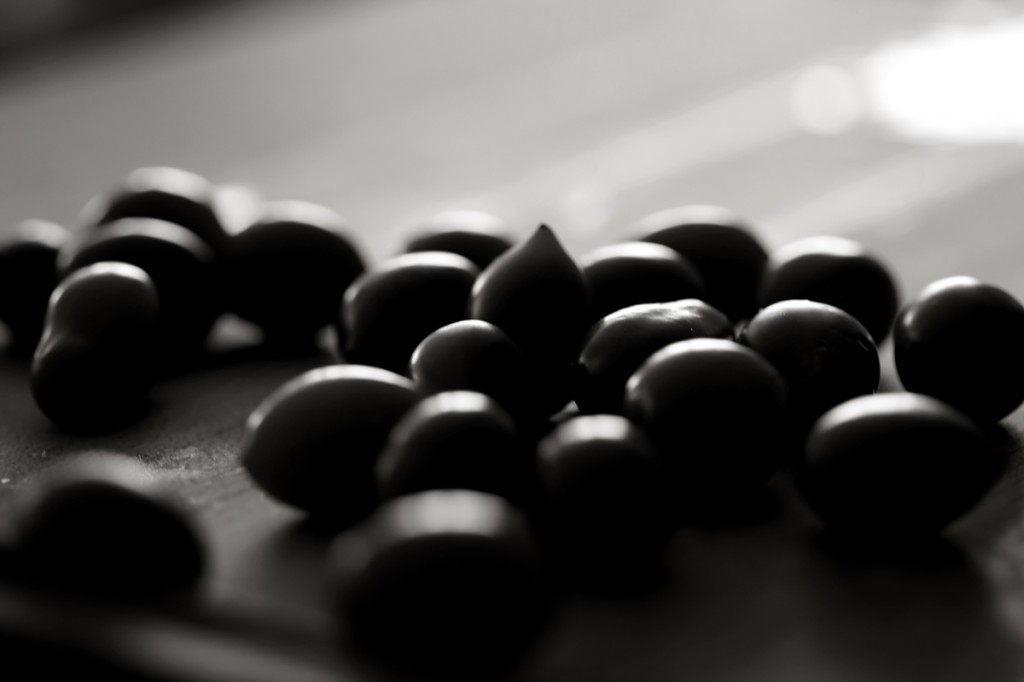
Quinoa, for those of you not familiar with it, is an ancient grain (well, pseudocereal, to be exact) from South America.  Pronounced “KEEN-wa”, it’s a rare plant source of all the essential amino acids, making it a complete protein.  In other words, it’s ridiculously good for you.

But more importantly, this tiny seed takes hardly any time to cook (less than 15 minutes), and is surprisingly flavorful, with a nutty aroma.  I keep a stash in the pantry for those times when I’d really love some brown rice with dinner, but have no time to cook it.  Nutritious and fast?  Yes, please.

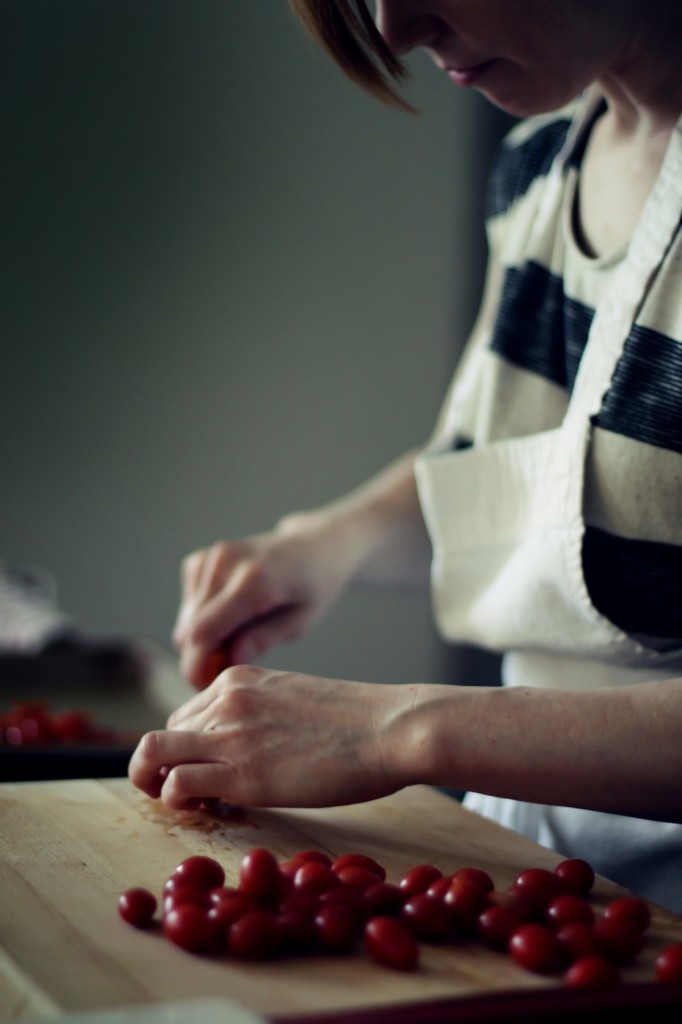
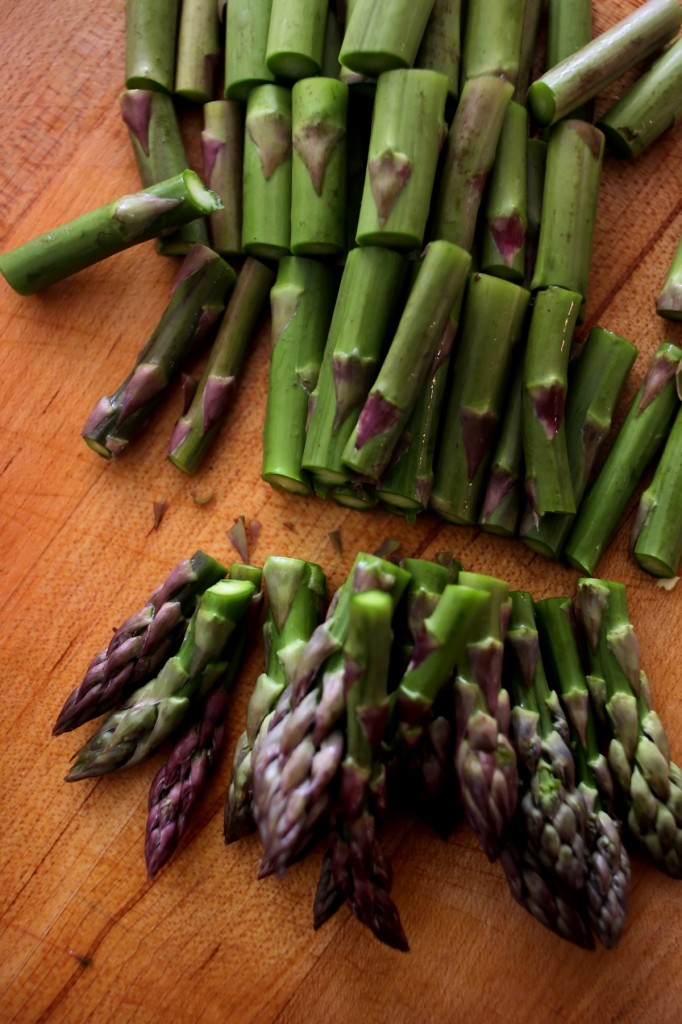
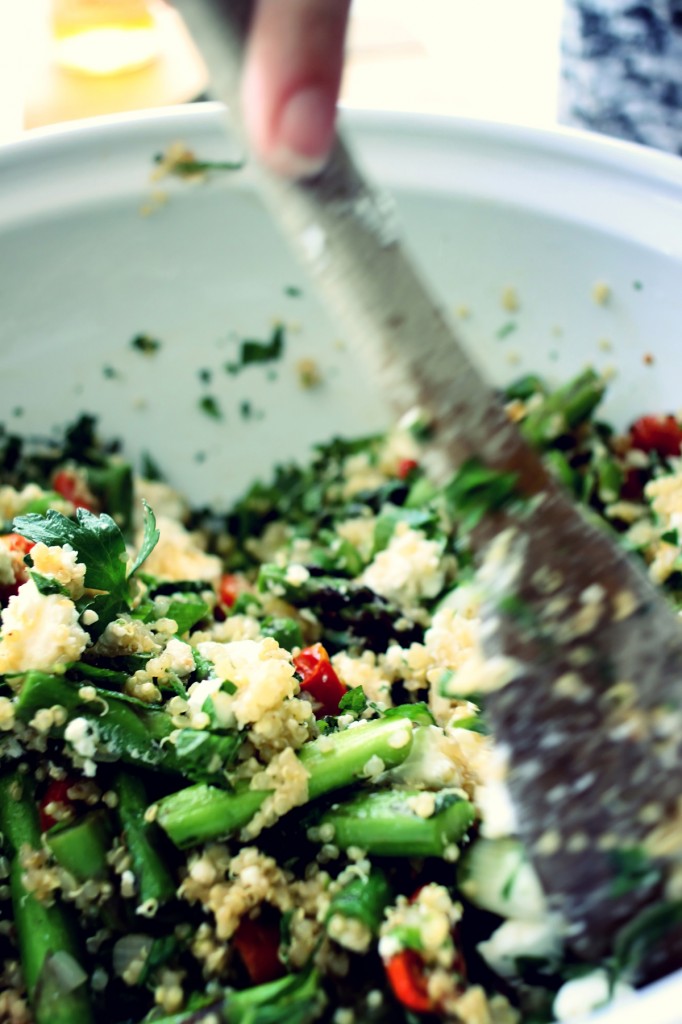
The first recipe below is for a savory quinoa salad, bursting with fresh asparagus and scallions sautéed in a blazingly hot skillet until just barely blackened.  Lightly roasted grape tomatoes bring sweetness, and pockets of feta add saltiness and a creamy texture.  A salad like this is a fantastic way to use any special finds from your local farmers’ market; just be sure to keep things cut fairly chunky.  That way, each bite is something entirely new, every forkful bound to the next with the rustic flavor of the quinoa.  This particular mixture of vegetables and herbs, however, is just amazing.  It tastes like late Spring.

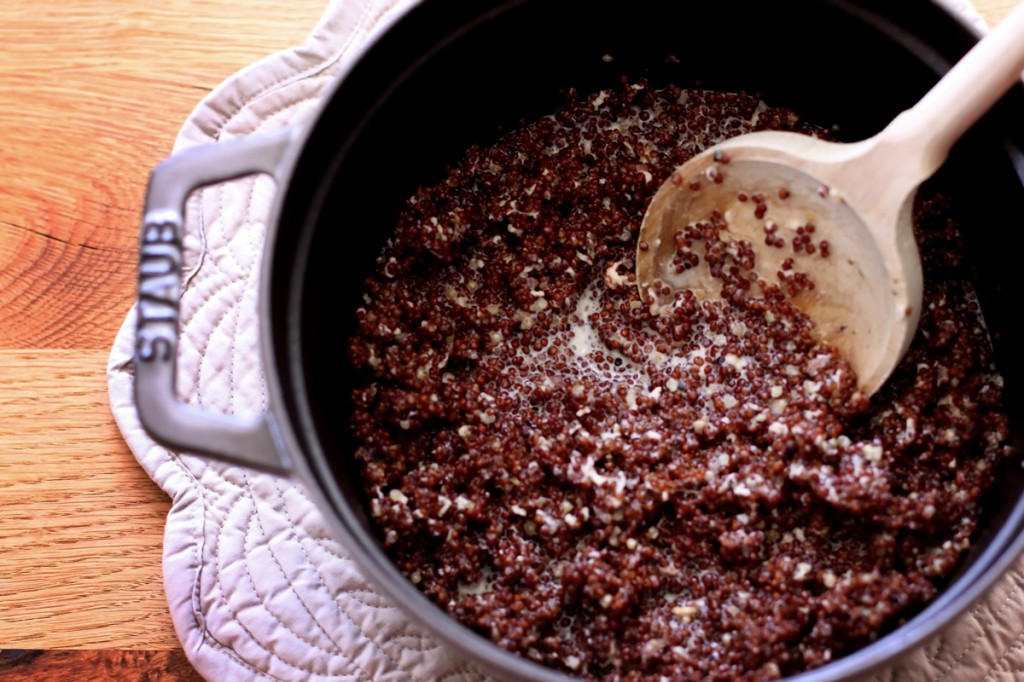
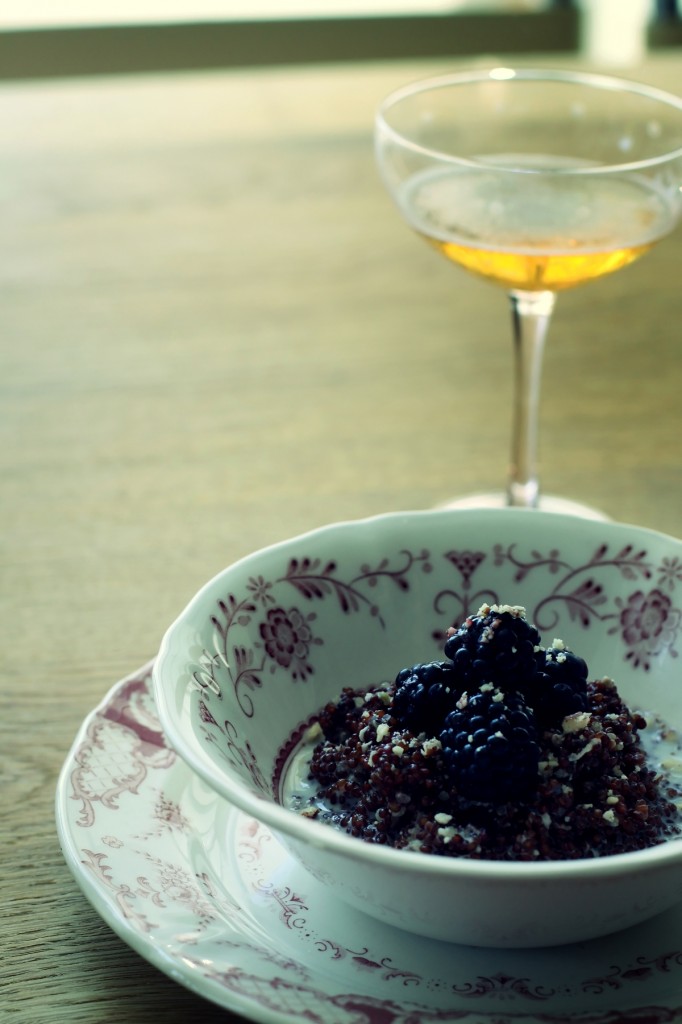
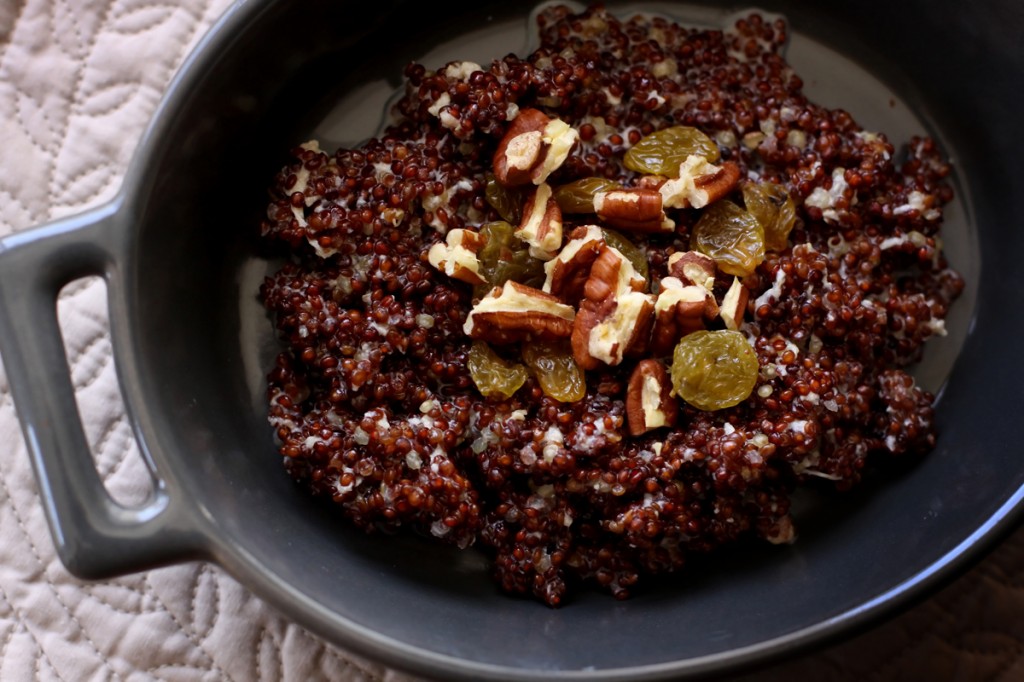
Second, I’ve adapted a red quinoa pudding recipe from Heidi Swanson at 101 Cookbooks.  Similar to rice pudding, it’s just barely sweet, making it an unusual and hearty breakfast alternative for those of you who need that A.M. sugar rush.  Of course, if you prefer (as I do) to serve it for dessert instead, you can scarcely find a more virtuous option.  Like Heidi, I’ve used a red quinoa here, but it’s purely for aesthetic purposes; if you can only find the more common tan-colored sort, that will work just as well.  A cluster of blackberries and toasted nuts on top turns this humble dish into a cooly elegant plate.

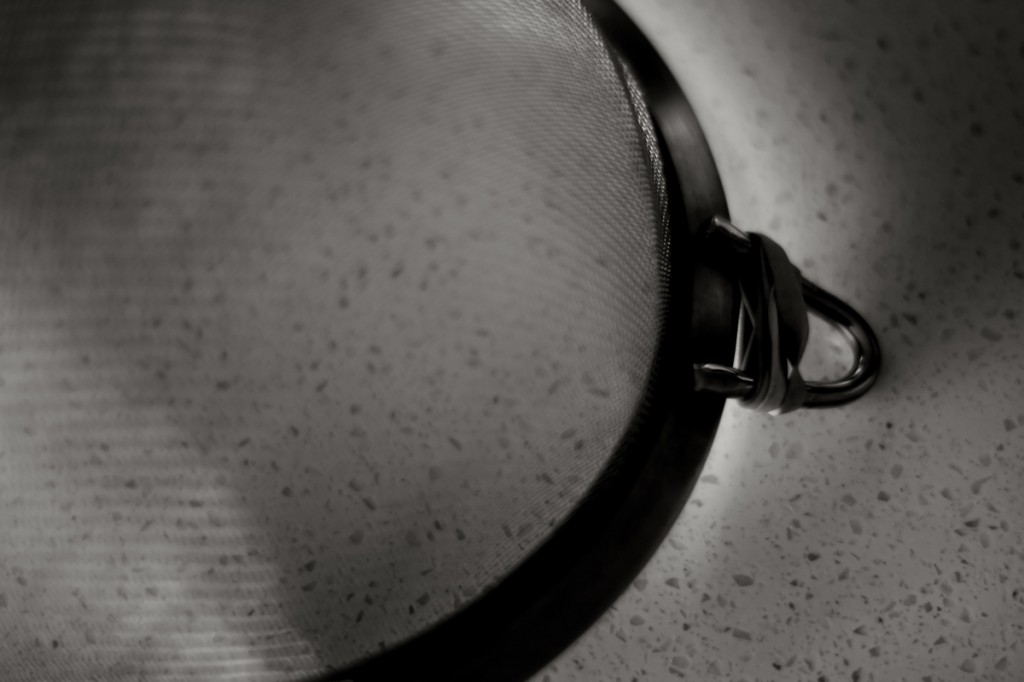
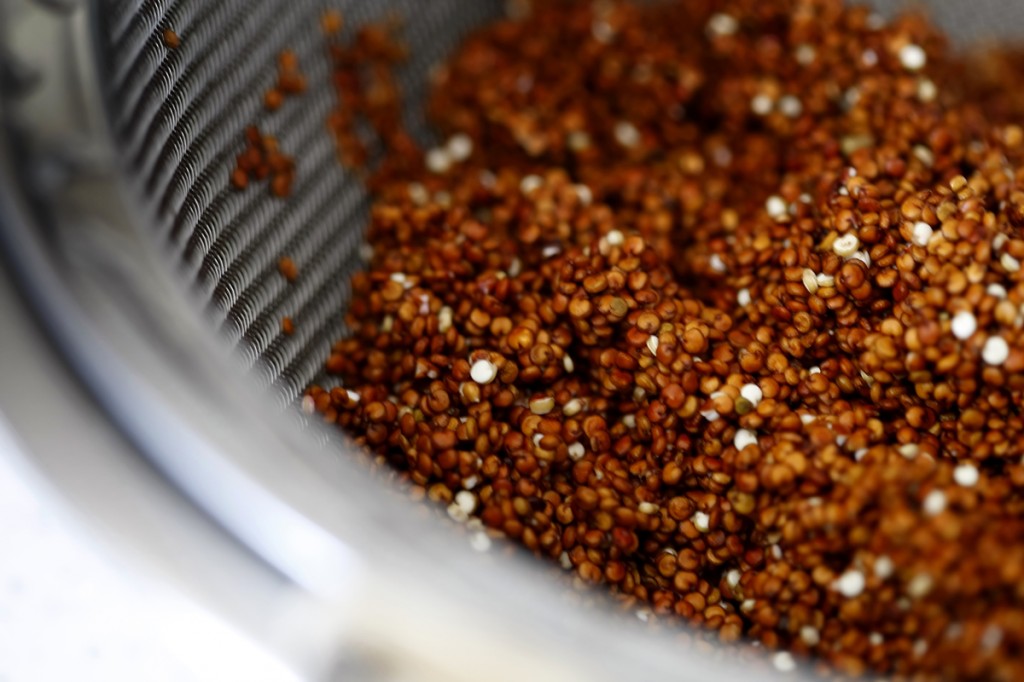
The only caveat in cooking with quinoa is that you must rinse it before cooking.  Quinoa comes with a natural covering or coating that tastes bitter when cooked, but rinsing removes it.  To rinse, use a fine mesh sieve to hold the seeds, and run water over them until it runs clear, using your hand to agitate them as you rinse.  Let it drain slightly, and you’re good to go!

if it's too early for a cocktail, it's too early

Quinoa and Asparagus Salad with Roasted Grape Tomatoes
Makes 4 to 6 servings

The small grape tomatoes are roasted in a low oven to dry and shrivel them slightly, concentrating their flavor into a sort of hybrid between raw and sun-dried tomatoes.  If you have a grill, try grilling the asparagus and scallions instead of sautéing them, for a smoky depth.  And while the grill is hot, throw a few pieces of meat on there; this salad is ideal for an cook-out.

For roasted tomatoes:
1 pint grape (or cherry) tomatoes
1 tablespoon olive oil

For quinoa:
1 cup quinoa
1 tablespoon olive oil
1/3 cup white onion, diced
2 cups chicken stock
1/2 teaspoon salt

To finish salad:
1 pound asparagus
1 bunch scallions (about 6)
1 tablespoon olive oil
1 large bunch mint, leaves only, chopped (about 1/4 cup)
2 tablespoons chopped parsley, leaves only
8 ounces feta
1 to 2 tablespoons sherry vinegar
Salt and pepper, as needed

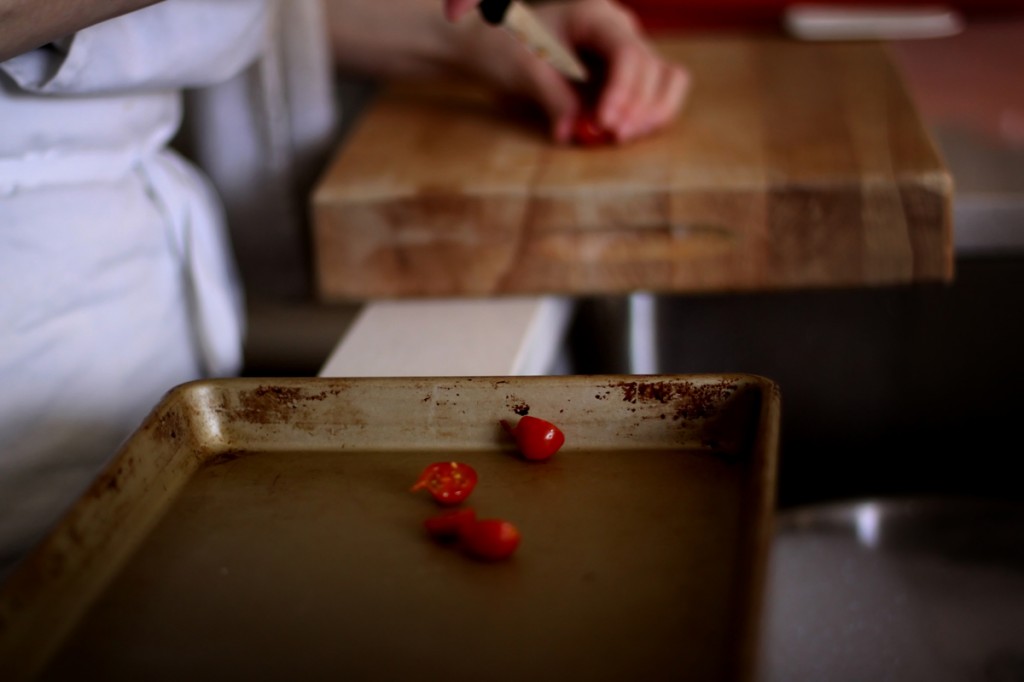
1.  Preheat oven to 250º F.  Halve tomatoes, and place on a rimmed baking sheet.  Drizzle with 1 tablespoon olive oil, and season lightly with salt and pepper.  Roast for 1 hour, or until slightly shriveled.  Set aside to cool.

2.  Meanwhile, rinse the quinoa in a fine mesh sieve until the water runs clear, swirling with hands to help agitate the grains.  This rinses off a natural coating that, when cooked, tastes bitter.  Let drain.

3.  In a medium saucepan, heat 1 tablespoon olive oil over medium-high heat.  Add the onion and cook until translucent, 3 to 5 minutes.  Add the quinoa.  Stirring constantly to prevent burning, toast the quinoa until fragrant and grains separate, about 3 minutes.  Slowly add the chicken stock (quinoa will bubble up and jump higher than you think) and the salt.  Return to a boil.  Reduce heat to medium-low, and simmer for 12 to 15 minutes, or until tender and all liquid is absorbed.  Let stand off heat at least 5 minutes before fluffing with a fork.

4.  Trim ends from asparagus, and cut into 2 inch lengths.  Set tips aside for the moment.  Cut white and light green parts of scallions into 1 inch lengths, reserving green tops.  Toss asparagus (except for tips) and chopped scallion parts with 1 tablespoon olive oil, and season with salt and pepper.

5.  Heat a large sauté pan over high heat until very hot.  Add asparagus and scallion mixture, and sauté, tossing or stirring, until deeply browned or charred in places and crisp-tender, 4 to 5 minutes.  Add asparagus tips, and cook 1 to 2 minutes more.  Remove from heat.

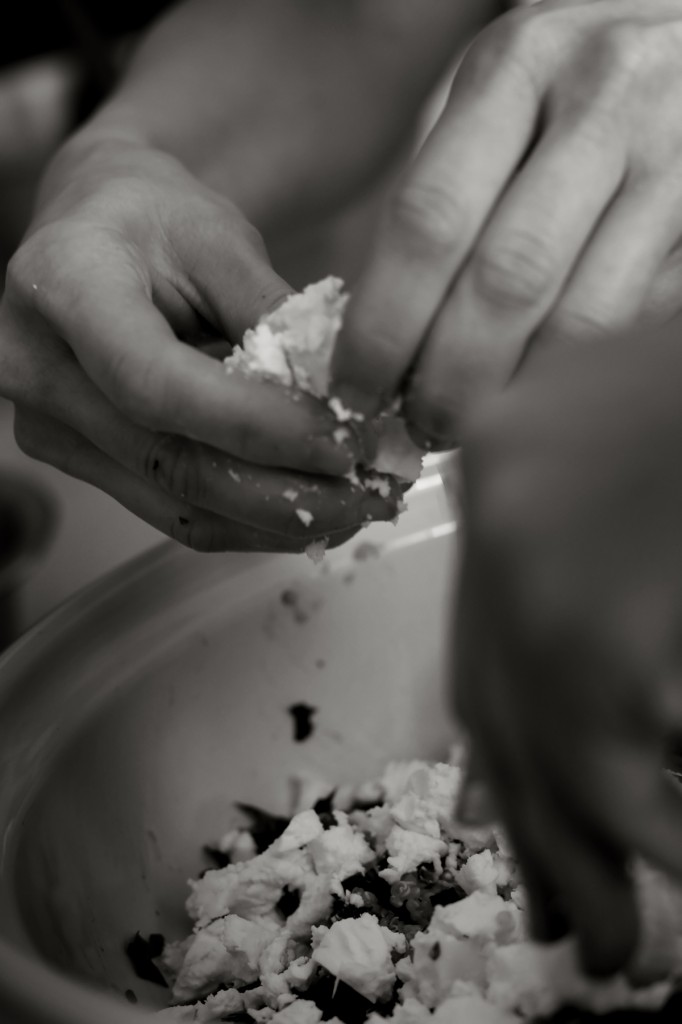
6.  In a large bowl, combine cooked quinoa with asparagus, scallions, and roasted tomatoes.  Chop green scallion tops, mint, and parsley; add to bowl.  Crumble feta in, and drizzle with sherry vinegar to taste.  Toss gently, and correct seasoning as needed.  Serve warm, cold, or at room temperature.

Red Quinoa Pudding
Adapted from 101 Cookbooks
Makes 4 servings

This dish can be served at breakfast just as easily as it can for dessert.  You can swap the sugar for honey if you like, and feel free to use regular quinoa if you can’t find the red type.  Both options will work equally well.

1 cup red quinoa
1 tablespoon unsalted butter
3 cups milk
3 tablespoons sugar
1 three-fingered pinch salt
1 cinnamon stick
3 pods cardamom, crushed, seeds only
For serving (optional): toasted pecans, fresh berries, honey, plain yogurt

1.  Rinse the quinoa in a fine mesh sieve until the water runs clear, swirling with hands to help agitate the grains.  This rinses off a natural coating that, when cooked, tastes bitter.  Let drain.

2.  In a medium saucepan, heat butter over medium-high heat.  Add quinoa.  Stirring constantly to prevent burning, toast the quinoa until fragrant and grains separate, about 3 minutes.  Slowly add the milk (quinoa will bubble up and jump higher than you think), sugar, salt, cinnamon stick, and cardamom seeds.

3.  Return to a boil, stirring until sugar is dissolved.  Reduce heat to medium-low, and simmer for 12 to 15 minutes, or until tender.  Not all liquid will be absorbed.  Let stand off heat at least 5 minutes.

4.  Remove cinnamon stick, and add additional milk to thin, if desired.  Serve pudding topped with toasted pecans, fresh berries, dried fruit, a drizzle of honey, or a dollop of plain yogurt.

more to come!

All photos by Cybelle Codish.  All styling by Taryn Bickley.

Energy Bars

There’s something incredibly appealing about the whole idea of an energy bar: it’s a discrete unit of food, carefully packaged in its own colorful wrapper, just the right size for a snack or, with a piece of fruit, breakfast or a light lunch.  It’s like a little food present, just for you.

There are also, of course, more so-called “energy bars” on the market than you can shake a stick at.  On the more virtuous side, an energy bar is an easy way to get some whole grains and fruits (in dried form) into the diet.  But on the other end of the spectrum, you’ll find the line between “energy bar” and “candy bar” very fine indeed.  Determining which category any given energy bar falls into can be rather tricky, if not downright impossible.

Even if your chosen bar contains nothing more offensive than soy protein isolate (also known as soy protein powder), the long list of ingredients can be a little off-putting.  My all-time favorite energy bars boast an ingredient list of as little as two items (seriously!), and both are real food; but I rarely buy them, because at $1.50 a pop, those suckers can add up fast.

So for the last couple of years, I have been making my own energy bars.  I started after I realized with slight horror that my boyfriend had been breakfasting on an instant powder drink.  In my book, anything powdered cannot be called breakfast, so I convinced him to start packing a banana and a homemade energy bar.  (It didn’t take much convincing.)

With batches of homemade energy bars around, I soon adopted a new afternoon snack.  But, as I tend towards hypoglycemia, I had to be wary of recipes with more than a slight amount of added sugar.  (This problem becomes more apparent for me with energy bars, as they tend to replace meals for me, rather than come at the end of one, as a cookie might.)  One sugary recipe sent me into a confused daze for half a day, during which I was utterly useless.

My most often made recipe is Alton Brown’s protein bars, mostly because I made them once, found them to be good, and decided that I shouldn’t try to fix what wasn’t broke.  But as good as they are, even those can be a bit boring after two years; so I recently decided to branch out a bit and try some new recipes.

This recipe, from Food Network’s Ellie Krieger, appealed to me initially because of the ingredient list.  The only sweetener, apart from a plethora of dried fruit, is from a scant amount of maple syrup.  The remainder of the bulk is made from whole grains and nuts, and can easily be made into a gluten-free version.  There’s nothing strange in there, just a pile of healthy and real food.

Upon closer inspection, the method appealed to me almost more than the ingredient list: it’s primarily made in the food processor.  I understand that this might be a deal-breaker for those of you who don’t have one; but for those of you who do, you’ll be hard-pressed to find an easier energy bar recipe.  It’s just blend, mix, pan, bake.  Slice.  Savor.

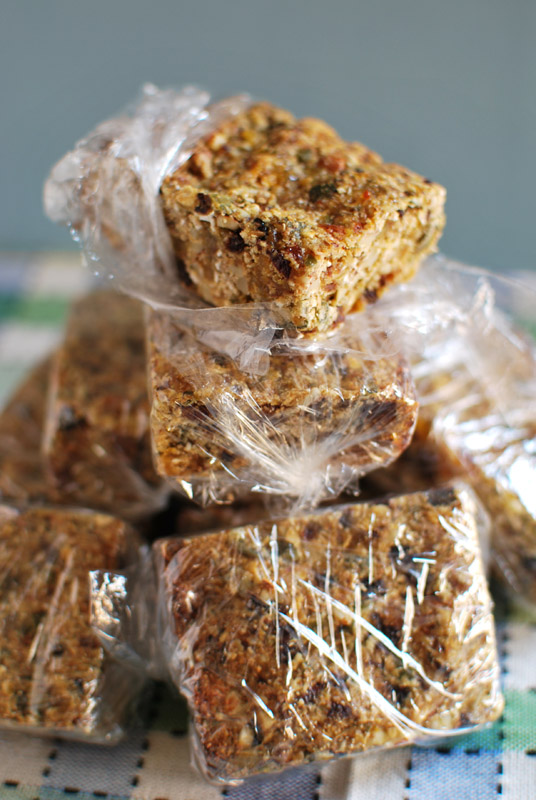
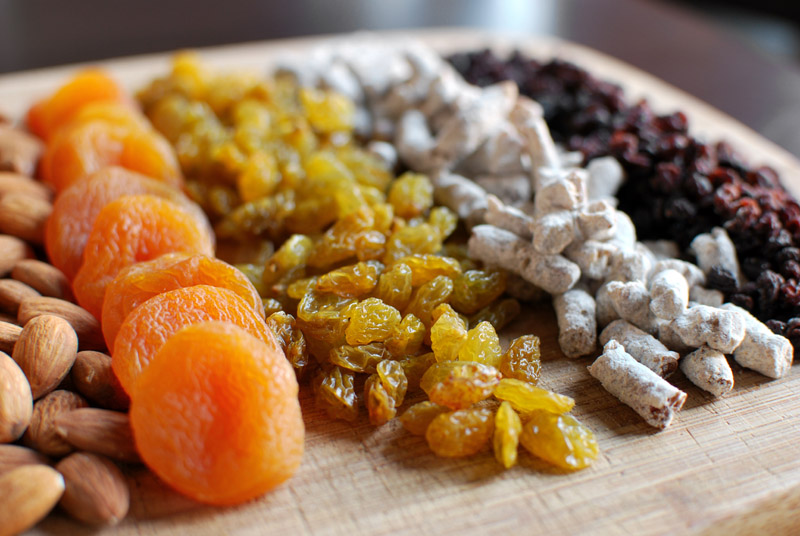
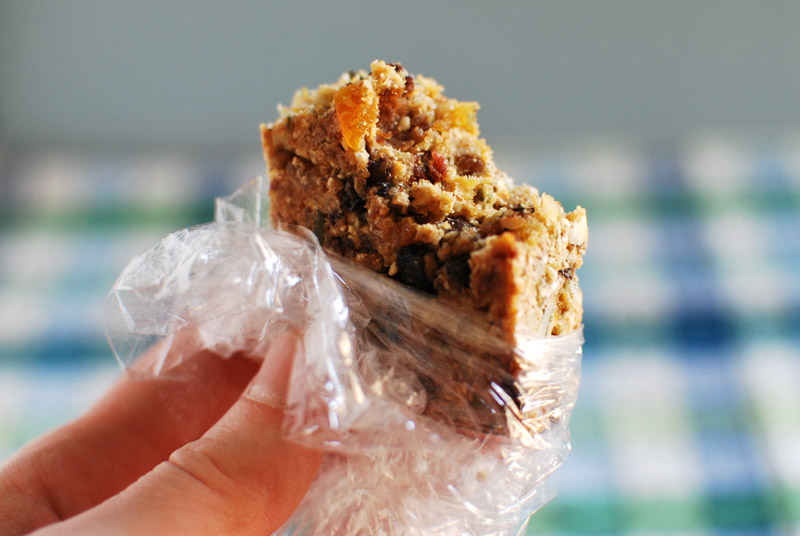
But the thing that’s cementing this recipe’s inclusion in my permanent file is the end result.  These bars taste like the healthiest cookie you’ve ever eaten.  They are firm-textured, nutty, loaded with dried fruit, and have a pleasantly grainy chew.  Surprisingly filling, one of these will give you the sustained sort of energy you wish all energy bars would.  And so pretty!  The variety of fruits and nuts make for a lovely mosaic look, each bite speckled through with orange apricots, crimson currants, and green pepitas.

Best of all, there was no blood sugar spike and crash for me with this recipe.  The sugar level looks rather high in the nutritional data, but it’s mostly natural fruit sugar, which isn’t nearly as bad as refined sugars.  However, the next time I make these – and there will be a next time – I think I’ll use some protein powder to offset the sugar level a bit.

My only regret is that I waited so long to break out of my energy bar rut.  I’m not giving up Alton’s recipe; but I tell you what, if there are other recipes like this one in the world, I’m going to have to start making more energy bars.

Energy Bars
Adapted from Ellie Krieger
Makes 12

Try to find dried fruits that don’t have sugar added; the fruit is sweet enough on its own, and the extra sugar will only add unnecessary calories with no nutritional benefit.  For a gluten-free version, substitute the rye flour for any gluten-free flour (such as quinoa, buckwheat, or amaranth), swap the wheat germ for ground flaxseed, and be sure to use gluten-free oats.

3 1/2 ounces (about 1 cup) rolled oats (either quick or old-fashioned)
3 ounces (about 2/3 cup) dried apricots, roughly chopped
2 1/2 ounces (about 1/2 cup) raw almonds (preferably whole)
2 1/2 ounces (about 1/2 cup) golden raisins
2 ounces (about 1/2 cup) raw pumpkin seeds (pepitas)
2 ounces (about 2/3 cup) dried dates, pre-chopped or whole pitted
2 ounces (about 1/2 cup) dried currants
2 ounces (about 1/2 cup) wheat germ (toasted or raw)
1 1/2 ounces (about 1/2 cup) dry nonfat milk
1 ounce (about 1/4 cup) whole-grain rye flour
1/2 teaspoon kosher salt
1/2 teaspoon cinnamon
2 ounces (about 1/3 cup) maple syrup
2 large eggs
2 tablespoons water, as needed

1.  Preheat the oven to 350º F.  Lightly oil an 8 inch square pan, line with parchment paper, and lightly oil the parchment.

2.  In a large bowl, loosely mix together the first 7 ingredients (oats through currants).  Process (in batches, if necessary) in a food processor until the mixture is finely chopped.

3.  Meanwhile, in the large bowl, whisk together the wheat germ, dry milk, rye flour, salt, and cinnamon.  Add the chopped oat and fruit mixture, and mix until evenly blended.

4.  In a bowl, whisk together the maple syrup and eggs.  Add to the dry ingredients, and stir until all dry ingredients are moistened (mixture will be very stiff).  Add the water by tablespoons as needed to fully moisten.

5.  Transfer the mixture to the prepared baking dish.  Using a nonstick spatula or moistened hands, press the mixture firmly and evenly into the pan.  Bake at 350º F for about 25 minutes, or until lightly browned on the edges and just set in the middle.  Let cool before slicing into 12 bars.  Bars can be individually wrapped, and frozen or refrigerated.

Nutrition (per bar):
220 calories
7 g fat (1 g saturated)
36 mg cholesterol
133 g sodium
34 g carbohydrate
4 g dietary fiber
20 g sugar
8 g protein

Note:
1.  For a higher-protein bar, you can substitute the powdered milk for an equal amount of soy protein powder (1/2 cup, or 2 ounces).  This increases the protein to 11 g, increases the dietary fiber to 5 g, and reduces the sugar to 18 g; all other nutritional data remains virtually unchanged.  Soy protein powder is readily found at specialty stores such as Whole Foods.

A Proper Irish Fry-Up

When I was in design school, I was lucky enough to spend a semester studying in and traveling around Ireland.  Eleven of us traipsed the whole of the isle, from Dublin to Sligo, from Cork to Belfast, and many places in between.  Each town of course had its own unique charms: Ballyvaughn, which had no bank, but three pubs; the blur of Dublin on a Sunday morning over the singular hue and smell of the Liffey; the omnipresent security towers and cameras in Derry (or Londonderry, depending on whose side you’re on), eyeless and unsettling.
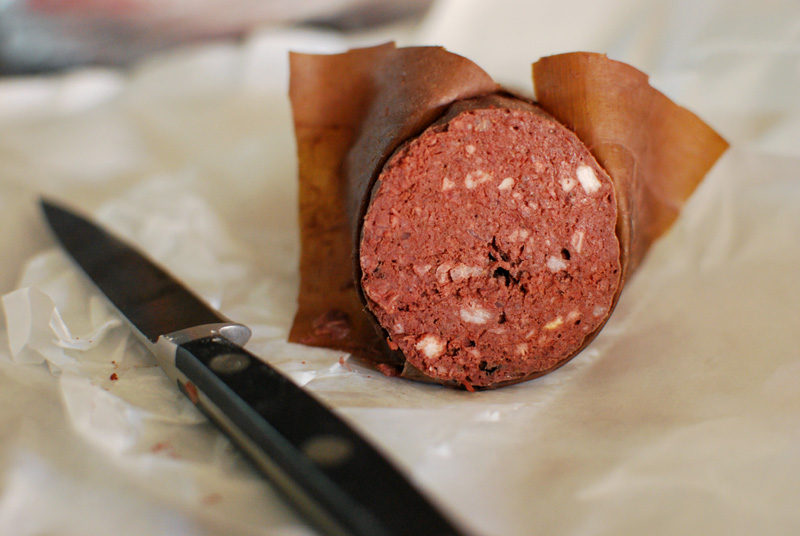
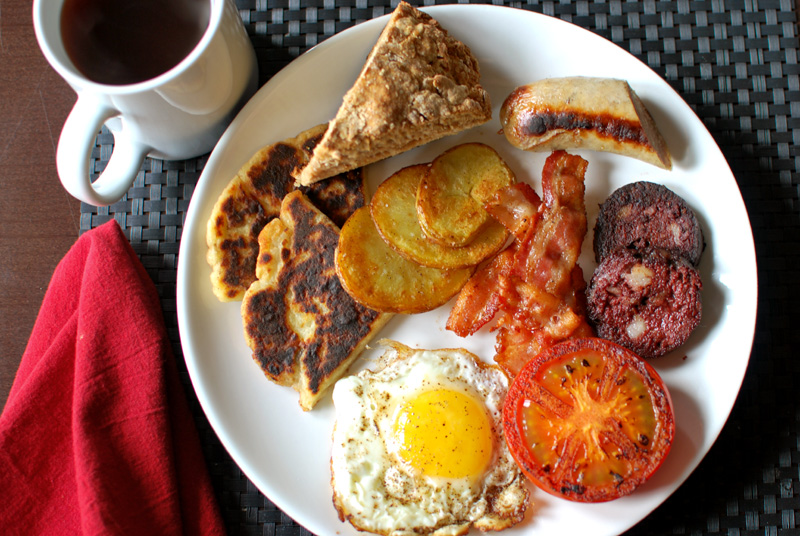
But throughout the whole country, there were two constants: the drizzle that rarely let up (and just as rarely grew any harsher), and the breakfasts.  In every pub, in every bed and breakfast, the breakfasts were unflaggingly similar.  Each morning brought eggs (usually fried), sausage, bacon, soda bread, potato farls, potatoes in at least one other form, and often a tomato, all washed down with tea, never coffee.
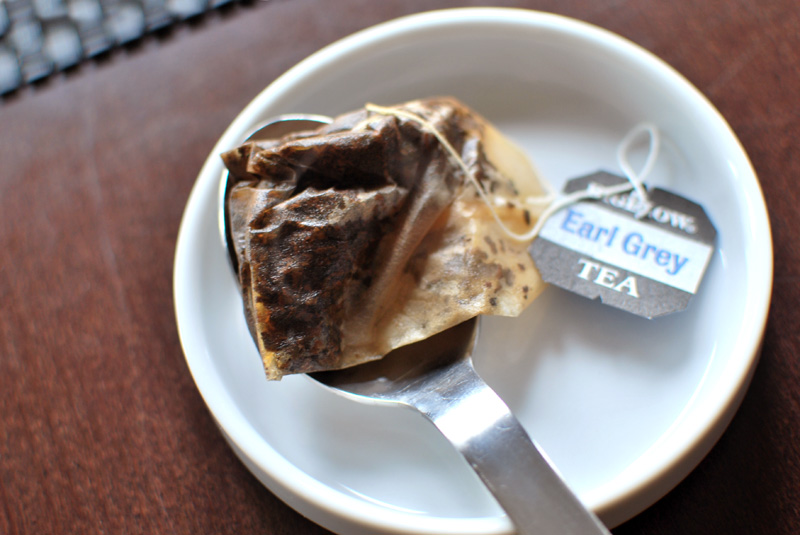
It didn’t take long for us Americans to realize that this was the traditional Full Irish Breakfast; and for college students from Alabama, where liquor stores are closed on Sunday by law, it was the ideal antidote to evenings spent thoroughly investigating Ireland’s pub culture.  We investigated the heck out of it.

Now, I know that as it’s St. Patrick’s Day, I’m supposed to talk about Guinness, or corned beef and cabbage, or beef and Guinness stew, or chocolate and Guinness everything, or (God help us) green eggs and ham.  But those sorts of dishes never seemed particularly fitting to me.  Certainly, the Irish drink their share of Guinness, but lager takes the lion’s share of sales in the nation.  And while beef and Guinness stew is indeed a pub staple, so is the more British fish and chips.

But when I remember Irish food, I recall those hearty, meat-laden, oh-I-could-never-eat-all-this (but then you do) plates; those to me seem a far more suitable tribute.  And if you, like me, live in a city that loves to celebrate St. Patrick’s Day so much that they dye the friggin’ river green, then you’ll appreciate the chance to wash away the previous night’s celebration in such a traditional manner.
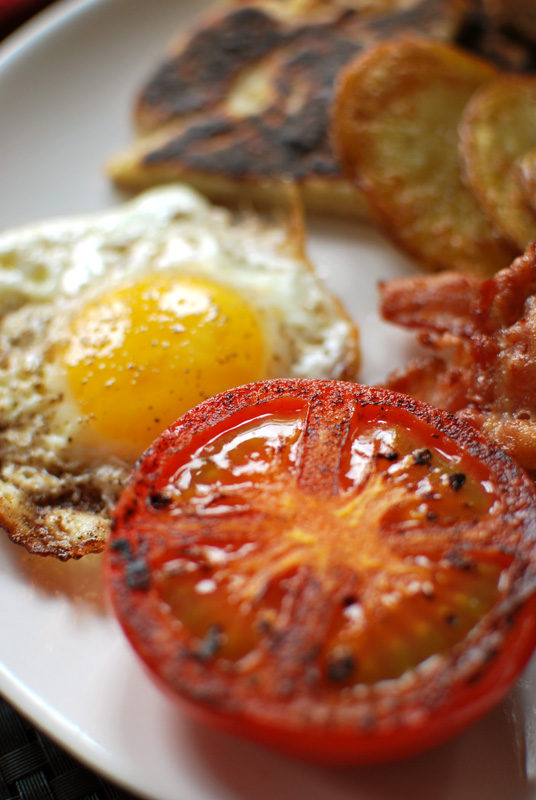
Irish Fry-Up

This menu is intended for American tables, so please forgive me for not getting into the subtleties between streaky bacon and proper rashers, and the correct sort of tea to have.  Besides, it’s just breakfast.

Soda bread (recipe below)
Potato bread (recipe below)
Roasted potato chips (recipe below)
Bacon, crisped
Sausage, links or patties, browned
Blood sausage (a.k.a. black pudding), browned
Eggs, fried or scrambled
Tomato, halved and griddled
Breakfast tea of choice

The key to this meal is timing, and there is no specific method for cooking each individual item, as it depends on what exactly you’ve purchased.  The items are listed above in the order they should be cooked in; this video will provide more specific advice for timing.  The bacon is cooked first here, so that you may use the delicious rendered fat to cook the remaining ingredients, if desired.  There’s nothing like eggs fried in bacon fat.

Soda Bread
Adapted from Ballinalacken Castle Country House & Restaurant
Makes one 9 inch loaf

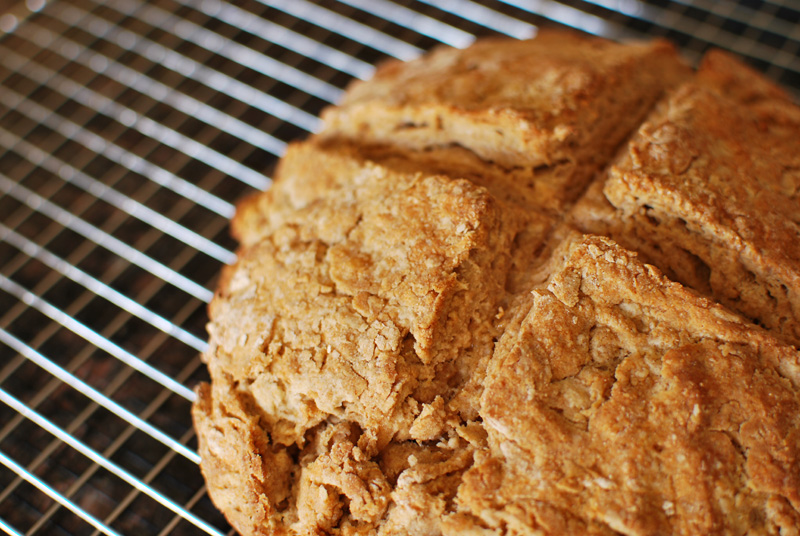
This version is slightly dense, but pleasantly so, with a moderate sweetness and a crunchy crust.

6 3/4 ounces (1 1/2 cups) unbleached all-purpose flour
6 3/4 ounces (1 1/2 cups) whole wheat flour
1/4 cup packed brown sugar
3/4 teaspoon baking soda
1/2 teaspoon salt
3 tablespoons cold unsalted butter, cut into very small pieces
1 cup cold buttermilk, well shaken

1.  Preheat the oven to 425º F.  Line a baking sheet with parchment paper, or lightly grease it.

2.  In a large bowl, whisk together the flours, sugar, baking soda, and salt.  Add the cold butter, and toss to coat it.  Using fingertips or a pastry cutter, quickly cut the butter into the flour, until only small lumps remain.  Do not over-handle, as the butter should not be allowed to warm up.

3.  Add the buttermilk, and fold together gently and quickly, until a rough dough forms.  Turn out onto a work surface and lightly knead until the dough comes together, no more than 10 turns.  Transfer the dough to the prepared baking sheet, and shape into a rough circle about 9 inches in diameter.  Cut a shallow “X” shape in the top.  Do not cut all the way through the dough.

4.  Bake at 425º F for 35 to 40 minutes, or until golden brown and cooked through.  Transfer to a wire rack to cool before slicing.
Potato Bread
Adapted from Wikibooks
Makes three 6 or 7 inch breads

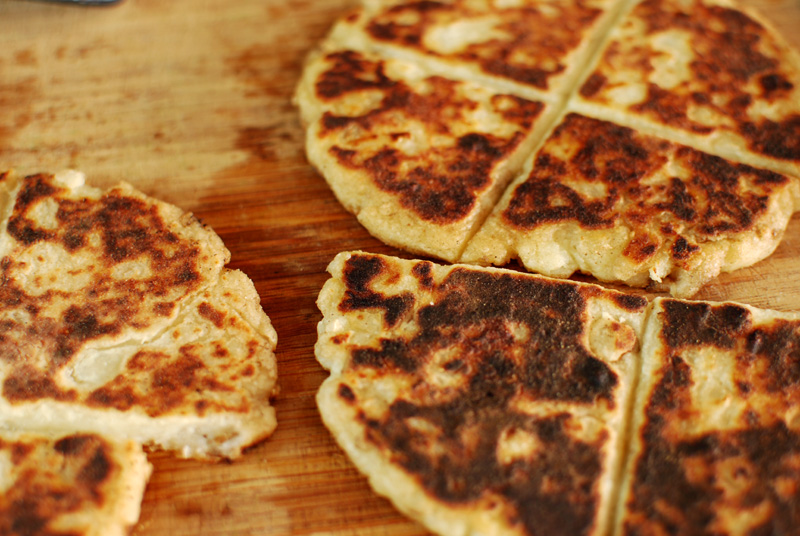
This filling and delicious bread originated as a way to stretch expensive wheat flour, while using the plentifully abundant potato.  Each bread is divided into quarters, or farls, with a crunchy exterior, soft interior, and a load of buttery flavor.  For the mashed potato that goes into the dough, I’ve left the skin on, as I don’t see the point in throwing away nutrients, though it’s more traditional to remove the skin.  Removing the skin will also produce a more pristine-looking farl, but I like the rustic look of the occasional peel peeking out the side.  If making ahead, these can be kept warm in a 200º F oven until ready to serve, though they are just as good at room temperature.

1 large Idaho potato (about 12 ounces)
3 tablespoons unsalted butter, plus extra for greasing the pan if desired
2 tablespoons cream, or milk
3/4 teaspoon salt
3 ounces (2/3 cup) unbleached all-purpose flour, plus extra for dusting

1.  Bring a pot of water to a boil.  Meanwhile, chop the potato into pieces approximately 1 to 2 inches in size.  Add to the water, and boil the potato for 18 to 20 minutes, or until very soft when pierced with a knife, and almost falling apart.

2.  Drain the potato.  In a medium bowl, mash until no large chunks remain.  Cut the butter into pieces, and add into the warm potato.  Add the cream and salt, and stir until combined.  Let cool briefly.

3. Incorporate the flour, a little at a time, into the potato mixture until a pliant dough forms.  You may need less or more than the whole 3 ounces.  Take care to not overwork the dough.  Turn out onto a lightly-floured surface, and knead briefly until smooth.

4.  Divide the dough into 3 equal pieces, and shape into round discs.  Dusting with just enough flour to prevent sticking, roll each out to a 6 or 7 inch round.  Press a shallow “X” shape into the top of each disc, taking care to not cut all the way through the dough.

5.  Heat a flat pan or griddle over medium to medium-high heat.  Add a small knob of butter (about 1 teaspoon), if desired.  Add one round of dough, and cook on each side until well-browned in spots, 3 to 5 minutes.  Remove to a plate, and repeat cooking with remaining dough.  Serve warm, or at room temperature.
Roasted Potato Chips

This method produces the most French-fry-like oven potatoes I know of.  The interior is airy and soft, and the exterior is crisp and golden.  Only use waxy potatoes, such as Yukon Gold or red potatoes; baking potatoes will not produce the desired result.

Yellow or red potato, cut crossways into 1/2 inch slices
Olive oil
Salt
Black pepper

1.  Preheat the oven to 425º F.

2.  Bring a pot of water to a boil.  Add the potato slices, and boil for 7 to 8 minutes.  Drain carefully.  The potatoes will be slightly soft, but not fully cooked.

3.  Gently toss the potatoes with enough olive oil to coat.  Sprinkle liberally with salt and pepper.  Spread in a single layer on a baking sheet, and transfer to the oven.

4.  Roast for about 10 minutes, then flip each potato slice over.  Roast for an additional 8 to 12 minutes, or until golden brown.  Remove and let cool slightly until ready to serve.

Five Minute Photo Shoot: Scrambled Eggs

Turns out these are really fun!  It takes the pressure off having to write a recipe down, or come up with flowery prose.  It’s just a photo.  Full stop.  I love it.
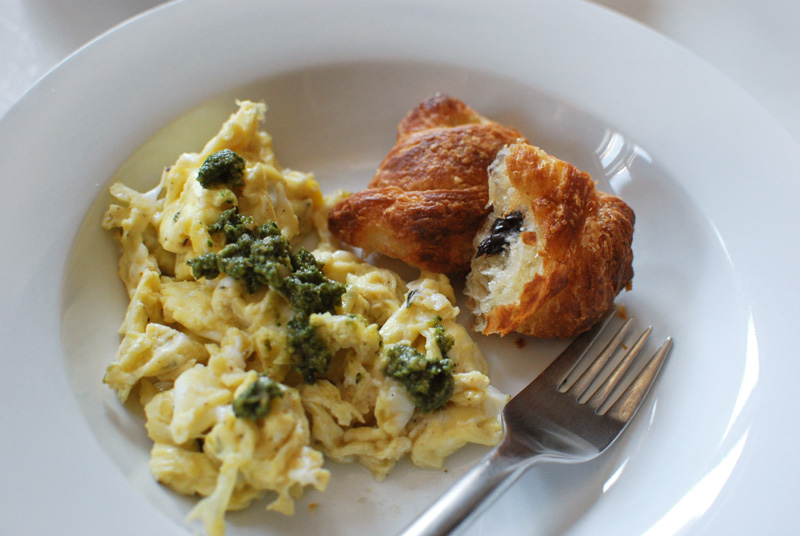
This is what I had for breakfast today, with the added surprise bonus of a boyfriend working from home: eggs, softly scrambled in bacon fat, with thyme leaves and radish pesto.  Chocolate croissants with French press coffee rounded out this very French petit déjeuner.

I know, eggs and chocolate don’t really go together; but I ran out of all other types of bread.  It was fine eaten in stages: first the eggs, then the croissant.  Both were delightful with the coffee.